| Home |
Die-cutting Counters with the Ellison Prestige Pro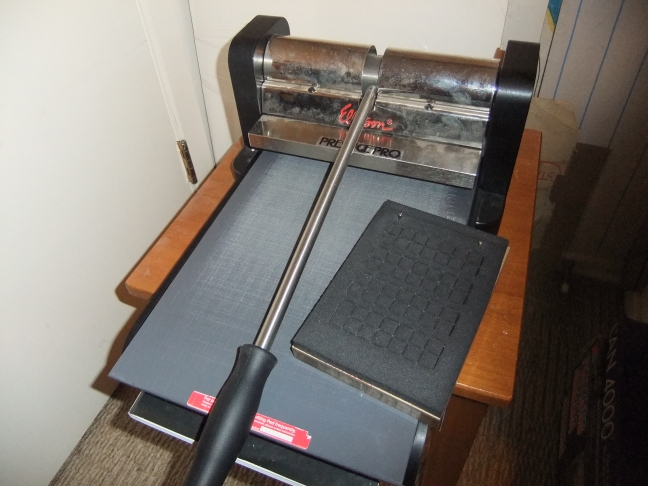
The photo above shows the Ellison Prestige Pro die cutter that I use to create my counters. It is about 12" x 16" x 10" in size and weighs about a thousand pounds. 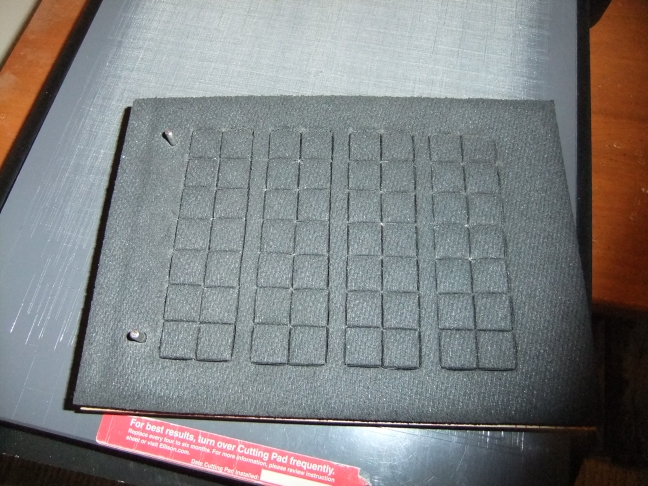
The die shown above is a set of blades fixed in place by plexiglass. There is a foam padding such that when the die presses down, the foam collapses and the blades cut through. Once the die is lifted, the foam pushes the cut counters away from the die. Two pegs are used to position the die with respct to the countersheet. Registration circles are drawn on the sheet to correctly position the die. 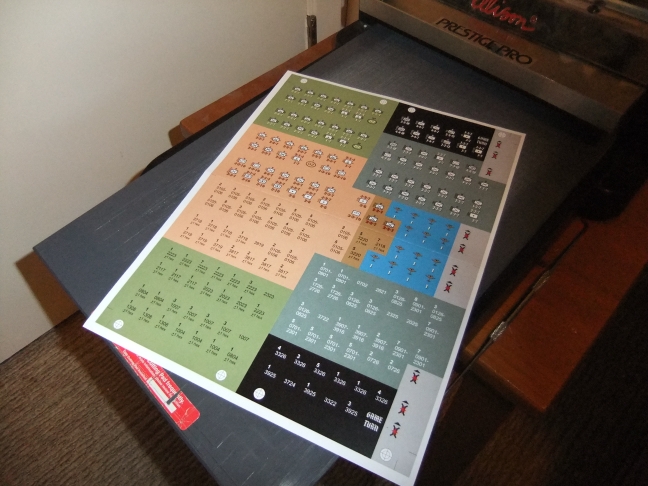
The photo above shows a sheet of counters printed from a colour laser printer. Personally, I use Office Depot to print my counters as they use a high-end laser. The artwork was done in CorelDraw and then exported to PDF. I take the files I need to Office Depot and print them, typically a few at a time. 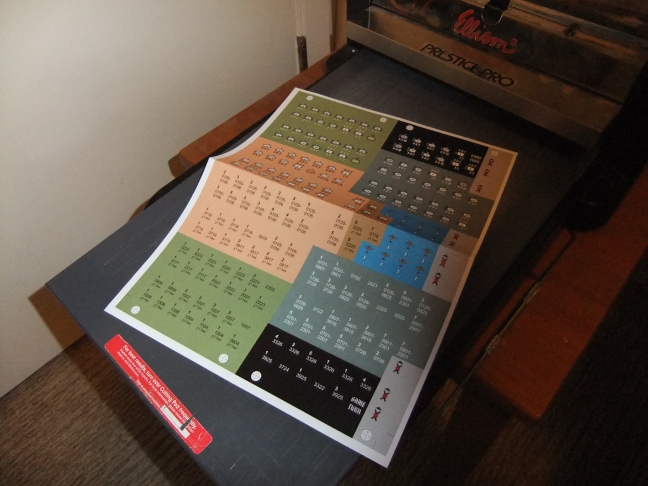
Once I have a printed sheet, I achieve the double-sided counters by folding the sheet in half such that the bottom registration points match with the top. It is important to use registration points as the laser printing is not completely dependable. There may be some slight floating of the image on the page as the paper is not precisely fed into the print everytime. Using the registration marks is a more dependable process. 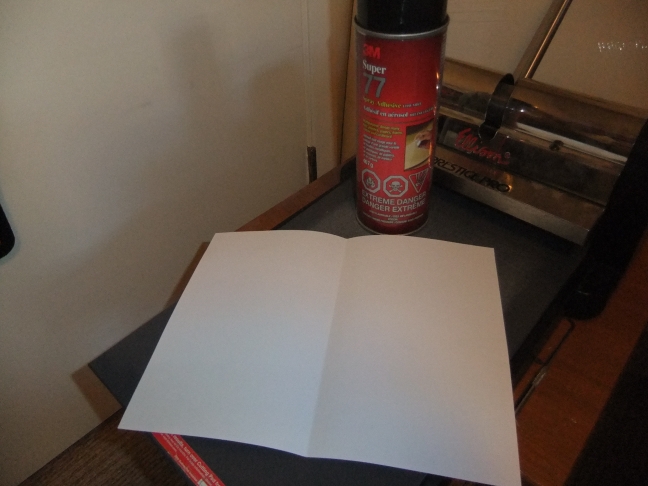
Once I have the page folded, I spray glue the back of the sheet. When doing this, it is important to wear a mask or conduct the spraying in a well ventilate area (i.e. outside). 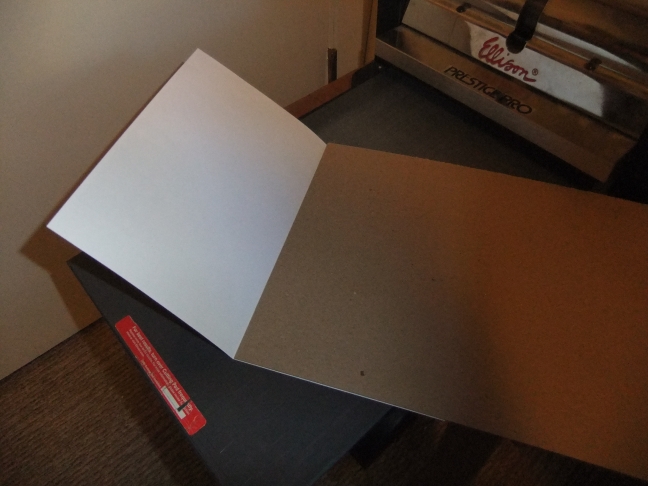
After spraying, the 0.025" (~ 1mm) chipboard is positioned on the sheet. When positioning the chipboard, an allowance must be made for the thickness of the chipboard by puting the edge (left edge in this photo) of the chipboard about 1 mm away from the fold. 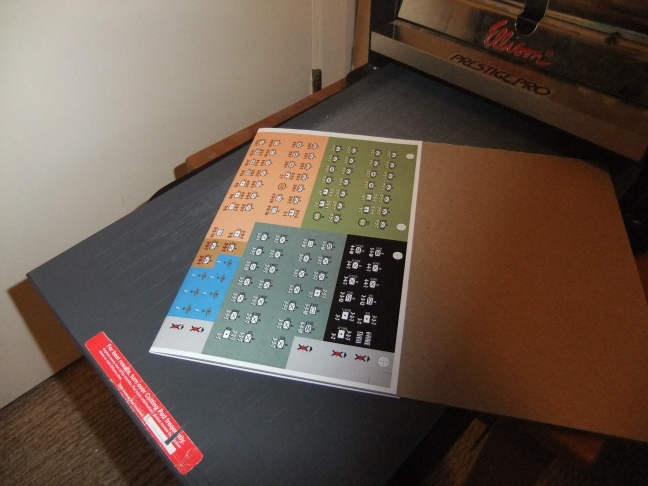
Once the chipboard is in place, the paper is wrapped around the chipboard following the fold. Extra chipboard is then cut away. 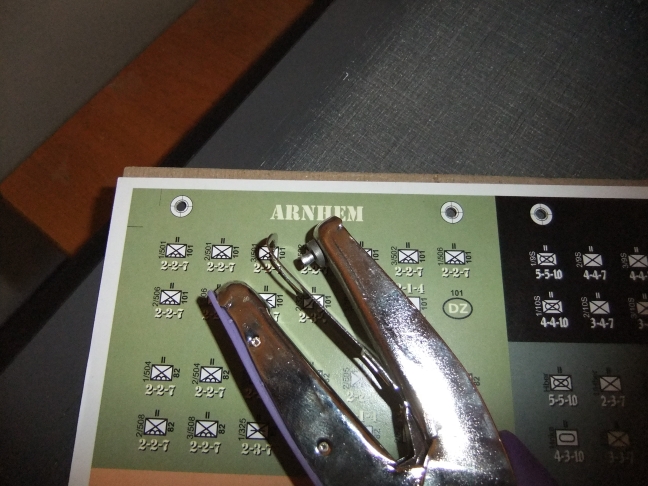
Holes are punched at the registration points using a 1/8" hole punch. One can buy these at the local craft store. 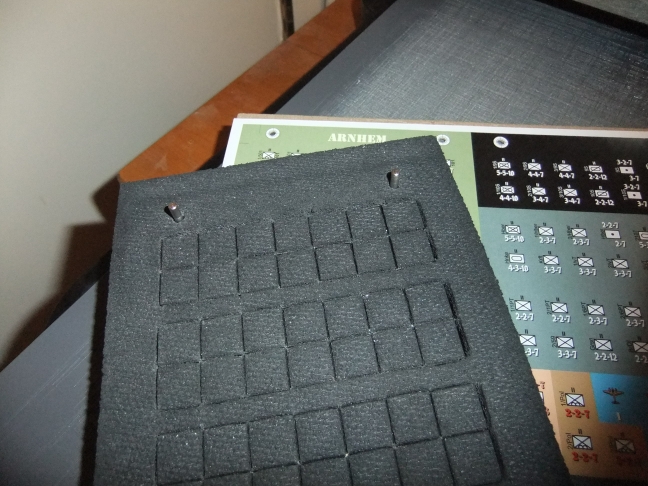
These holes are used by the guide pin on the die-cutting plate. 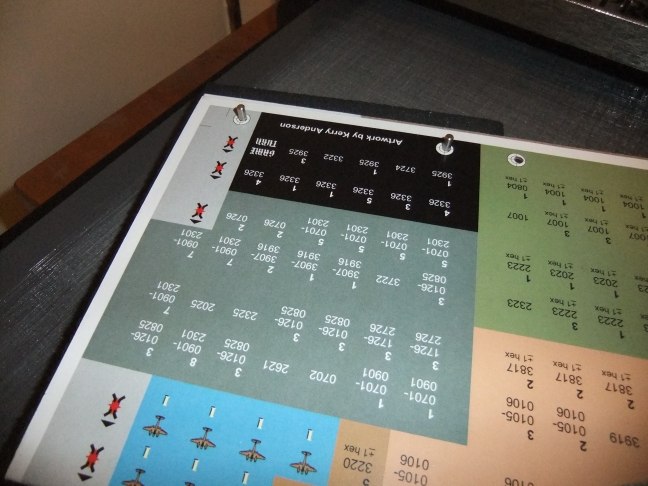
The pegs are then inserted through the holes to position the plate for die-cutting. 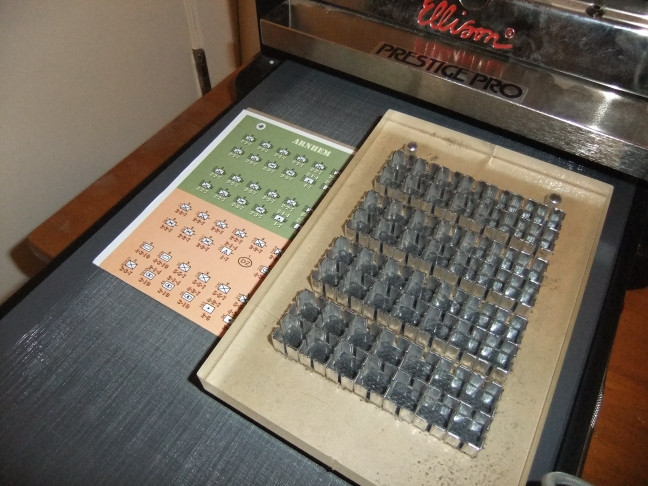
The die-cutting plate and countersheet are then placed on the floating board. 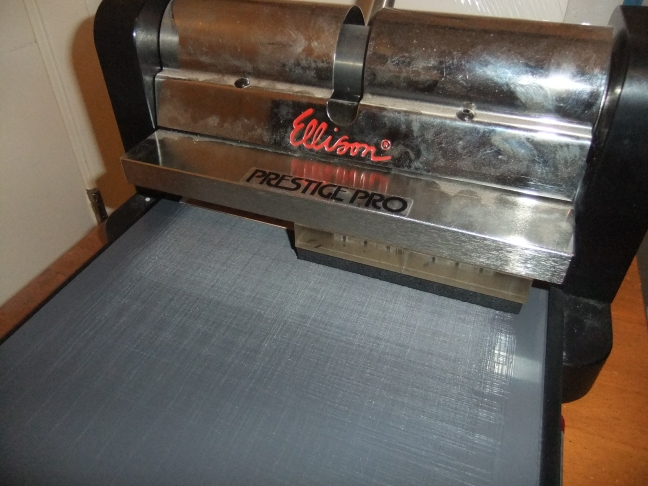
This is then slid under the press. The handle is brought down and the counters are cut. 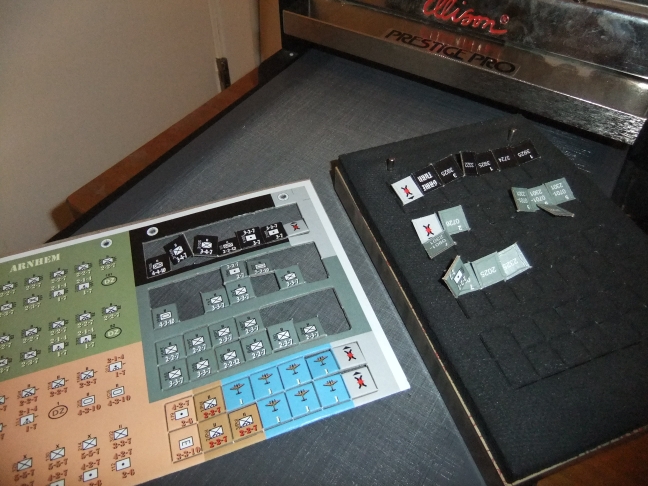
The floating plate is brought out and the die is removed. Sometimes counters are caught within the blades. These are easily removed using a pick and reinserted into the counter sheet as shown below. 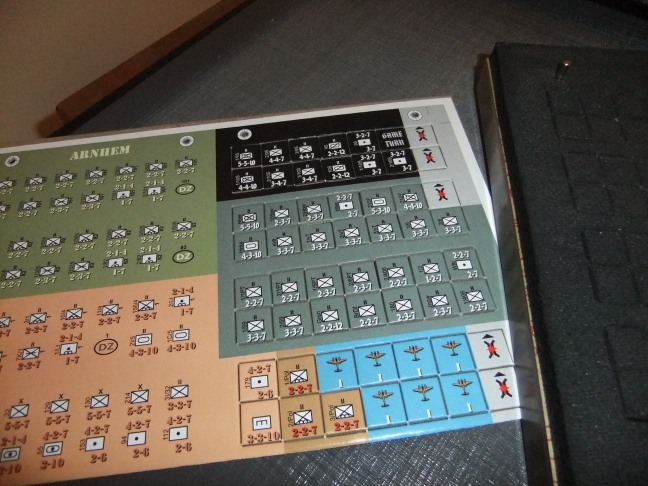
The die cutting press can be adjusted with shims but then there is a chance the counters are not cut all the way through. Personally, I prefer to over-cut than under-cut. The die only overs one quadrant of an 8.5x11" sheet. This process must be repeated to the other quadrants (or twice for a half sheet of counters as in this example) 
The final product, in this case a half sheet of 112 counters. 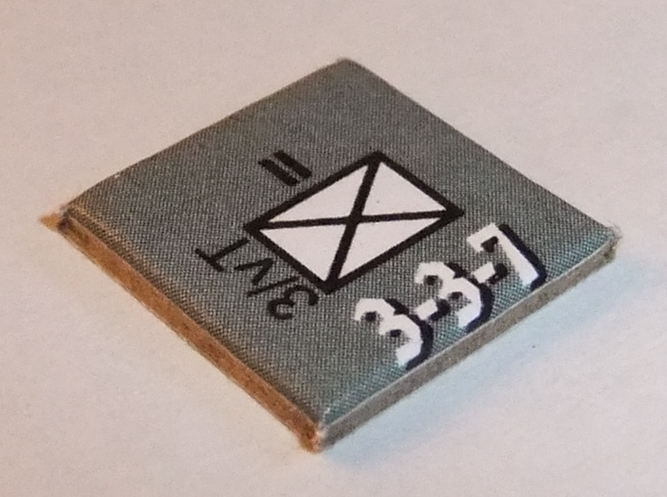
A single counter when puunched out. Notice the curved edges resulting from the pressure of the blades and the dog's ears on the corners of the counter. ContactIf you wish to purchase any game parts or have games to sell or trade, e-mail Kerry Anderson for details. Return to Main Page |